The choice of joysticks
is a tough one. I tried the Happ Super, Ultimarc T-Stick Plus,and
the Ultimarc J-Stick. I liked the idea of the Ultimarc's because
of their ease in converting from 4-way to 8-way. The Happ Super
can be turned into a 4-way by flipping its actuator over. I finally
settled on the Happ Super because I like the feel during games like
Robotron and Time Pilot. The Ultimarc sticks felt too "square"
in 8-way mode which annoyed me during games that require a more
circular motion (Robotron, Time Pilot). If the square motion of
the Ultimarcs doesn't bother you then I would recommend the J-Stick
over the T-Stick. The J-Stick felt better in 4-way mode than the
T-Stick did. I really didn't like the T-Stick at all. It just didn't
feel right in 8-way or 4-way mode.
The J-Stick makes a good
4-Way stick and an OK 8-Way stick. The Happ Super makes a good 8-Way
and an OK 4-Way stick. I really don't mind flipping the actuator
on the Happ since I don't play 4-way games nearly as often as 8-way
games. If you play a lot of 4-way games then the J-Stick is probably
a better way to go because of the built in restrictor that can be
rotated easilly.
This
is the control panel template that was created using Visio.
The Visio template is available from ArcadeControls.com
and is the perfect tool for creating full size panel designs. |
 |
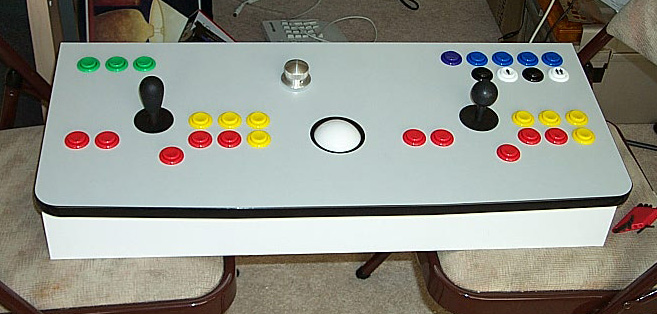
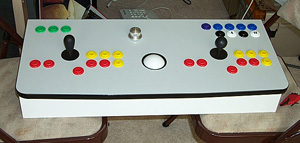
| This
is the completed control panel. The top is 3/4" MDF with
gray Formica laminate. The sides are 1/2" MDF with white
Formica laminate. The mounting plate for the trackball was routed
into the MDF and then covered with the Formica. The joysticks
have been routed in 1/4" into the bottom side of the panel.
I used black T-molding to finish the edges. |
 |
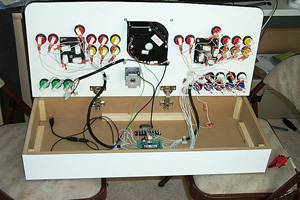
| This
picture shows the wiring and control mounting. The KeyWiz is
mounted to the bottom of the case. I used cabinet hinges that
could be completely concealed and don't require any clearance
behind the panel for proper operation. |
 |
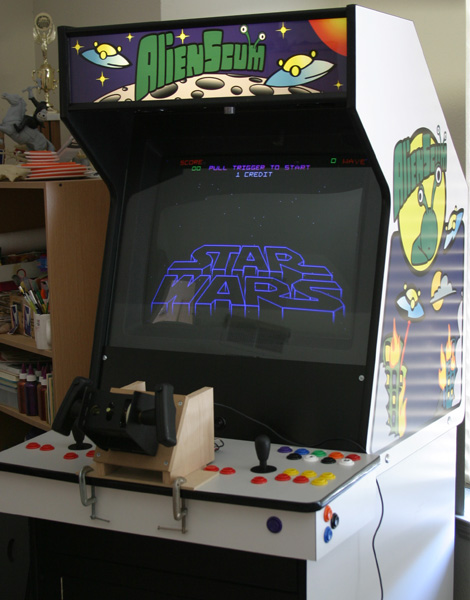
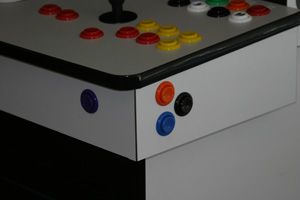
| I
decided to add buttons for Visual Pinball. Notice the plunger
button on the front where a normal pinball plunger would normally
be mounted. The orange button on the side is the right flipper,
the blue button is the right tilt, and the black button is the
forward tilt. I have a similar configuration on the left side
as well. |
 |
| This
is the Star Wars yoke controller using the Microsoft Dual Strike
Hack. |
 |